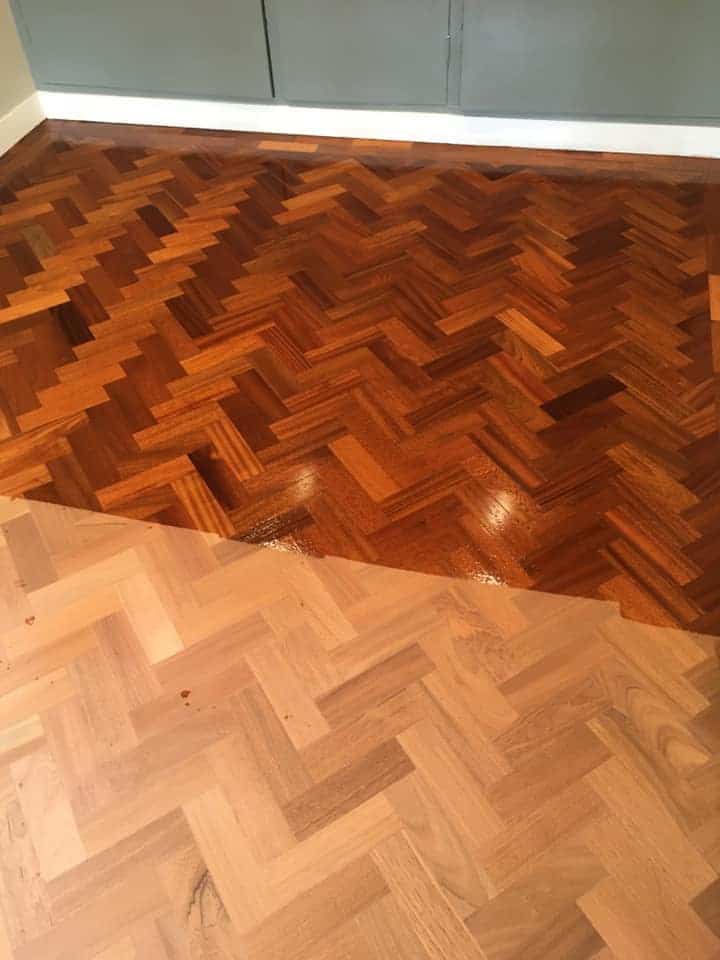
Wood floor scratch repair and sanding wood floors are best handled as one joined-up job, because a “fixed” scratch often reappears once light hits the floor at the right angle. The real question is whether the scratch is in the finish, in the timber, or linked to movement in the boards.
Quick Answers: What Works And What Fails With Scratches
- If a mark disappears when the floor is clean and dry, it is usually in surface residue, not the wood.
- Many repair kits hide damage temporarily, but they can leave a visible patch once the rest of the floor oxidises.
- The most consistent results come from sanding the floors evenly, then rebuilding a matched wood finish across the rest of the floor.
Takeaway: the best-looking repair is the one that blends into the rest of the floor in daylight and evening light.
Why Scratches Are A Finishing Problem, Not Just A Damage Problem
Scratches and dents do not behave the same way on all hardwood floors. A satin lacquer can hide micro-scratches until the floor gets raked light. An oiled finish can show dark marks sooner because dirt sits in the grain. Softer timbers dent, harder timbers scratch, but both can end up looking “patchy” if the repair is localised.
Where we add value is diagnosis. A single deep scratch might be from grit dragged under a chair. A cluster of fine lines often points to grit acting like sandpaper underfoot. If you only treat the mark, you miss the reason it happened.
Takeaway: we aim to remove the cause of repeat scratches, not only the scratch you can see today.
How We Approach Wood Floor Scratch Repair
Our Assessment Before Sanding Wood Floors
We start by checking the floor as a whole, because the scratch you noticed is rarely the only issue. This is where a specialist eye matters.
The “Light Sweep” Check
We look across the floor with low-angle light. It shows dish marks, old patch repairs, and ripples from past floor sanding that a normal overhead light hides.
We also check for fixing problems. A scratch beside a joint can be a movement issue, which becomes a finishing failure later unless we address it first.
The Repair Process We Use For Different Scratch Types
Here’s how we decide what to do, without guesswork:
- Clean and inspect: we remove surface dirt so we are not sanding grime into the timber.
- Decide on scope: spot repair only, or full-room sanding for a consistent finish.
- Sand in a controlled grit sequence: we move from grit sandpaper suited to levelling, through finer grits for clarity.
- Fill and blend: we use wood filler where it is appropriate for the floor and movement profile.
- Apply a matched wood finish: we rebuild protection evenly so the rest of the floor looks intentional, not patched.
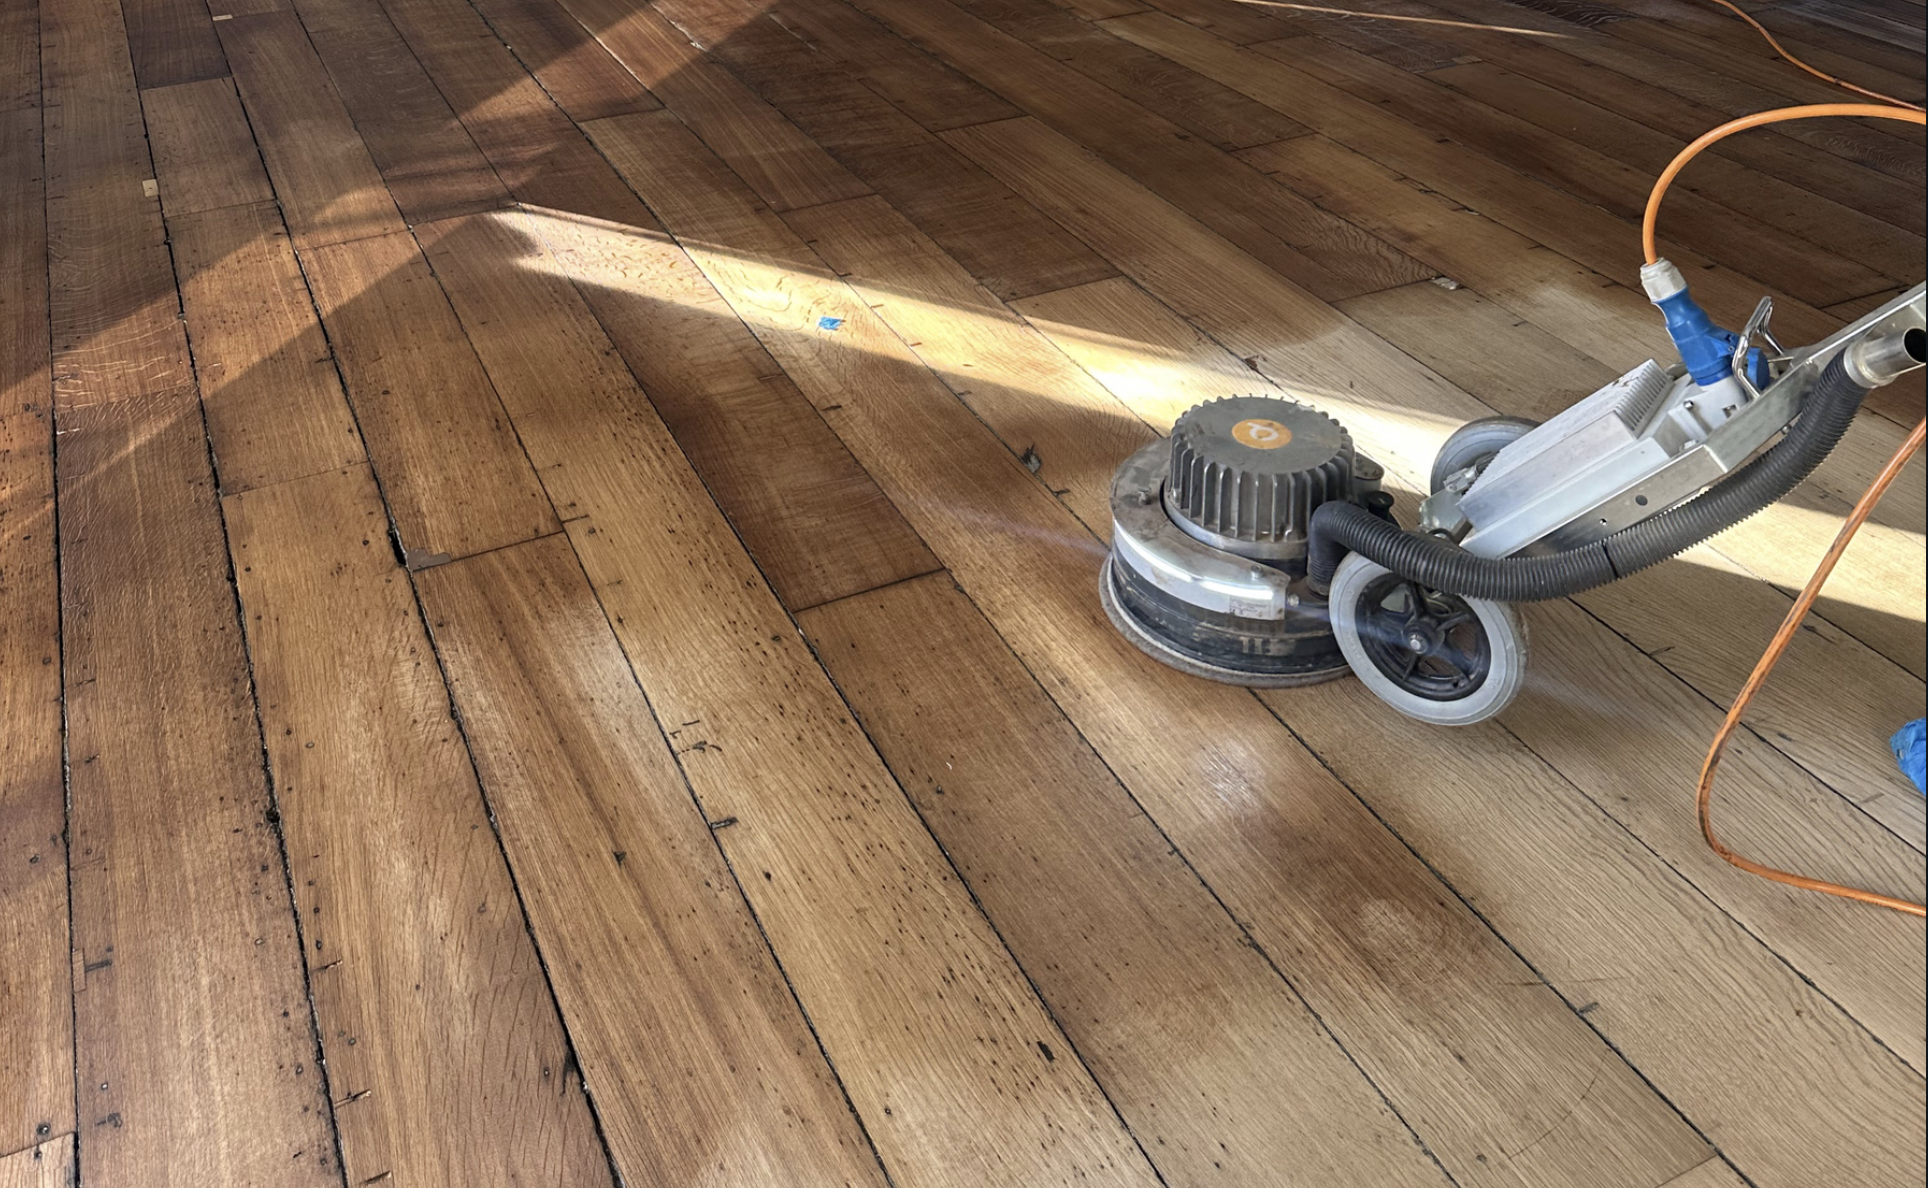
Table: Scratch Type vs Best Professional Fix
Why Many Repair Kits Disappoint
Most repair kits are designed to create an instant improvement. The problem is consistency. A wax pencil can fill a deep scratch, but it often reads as a different texture. Some kits sit on top of the wood finish rather than bonding with it, which can cause a halo when the floor is cleaned.
We regularly see “good from one angle” repairs that fail when sunlight hits the grain. That is why sanding wood floors is often the correct answer, even when the scratch looks local.
Takeaway: quick fixes often create a second problem, a visible patch that is harder to blend later.
What Professional Sanding Changes
When floor sanding is done properly, it resets the surface so the finish behaves consistently. We sand to remove the old finish evenly, then refine through finer grits so the coating sits flat and cures cleanly.
We also work with dust control because finish quality depends on cleanliness during coating. Sussex Floor Restoration describes its sanding approach as a dustless service, aiming for around a 98% dust-free finish in typical conditions.
What We Repair While We’re There
If you book sanding the floors, it is often the right moment to deal with issues that would otherwise shorten the lifespan of the new finish:
- Fixing loose sections that flex underfoot
- Addressing localised scratches and dents that sit below sanding depth
- Filling small gaps where a wood filler solution is suitable
- Checking thresholds and doorways where wear concentrates
- Blending replacement pieces so they disappear into the rest of the floor
Where Attention To Detail Shows Up Most
Edges and corners are where rushed work shows. A smooth finish depends on getting tight areas as consistent as the open field of the room.
Takeaway: the finish only looks premium when the details match the centre of the floor.
How We Run The Job From First Call To Aftercare
Our process is straightforward: you contact us, we complete a quote and survey, then we carry out the works and provide aftercare guidance.
That structure matters because scratch repair and refinishing outcomes depend on preparation, environment, and the floor’s history, not just time on a machine.
Book A Proper Fix, Not A Temporary Disguise
If your wooden floor has a deep scratch, repeated micro-scratches, or older patch repairs that never quite blend, we can help you choose the right approach, from targeted wood floor scratch repair through to full sanding wood floors and refinishing.
Visit our Wood Floor Sanding page or call 01444 810505 to book a survey and get a clear plan.
If you found this useful, you might also like our latest blog: Creaking Floorboards and How to Fix Floor Gaps Professionally.
FAQs
Can sanding wood floors remove a deep scratch completely?
Often, yes. Sanding can level many deep scratch marks, but some very deep damage may need extra steps like wood filler or board repair before refinishing so the rest of the floor looks even.
Do wood floor scratch repair kits actually work?
Repair kits can improve the look of minor scuffs, but they often create visible patches or texture differences. They can also age differently to the original wood finish, which makes the repair stand out over time.
What is the best way to fix scratches in hardwood floors?
The best method depends on depth and finish type. Light scuffs may only need cleaning and a compatible maintenance product. Deeper scratches typically need professional sanding, blending, and refinishing so the repair matches the rest of the floor.
Will wood filler fix scratches and dents in wooden flooring?
Wood filler can help with chips, dents, and small voids, but it must be used correctly and sanded flush before finishing. It is not suitable for every floor, especially where boards move, as filler can crack.
How long does sanding wood floors take in a typical room?
Many rooms can be sanded and refinished in 1 to 2 days, plus drying and curing time for the finish. Timings vary based on floor condition, deep scratches, and how many coats are needed.
Is sanding wood floors dusty?
Professional sanding can be dust-controlled with proper extraction, which reduces mess significantly compared to older methods. Some dust is always possible, but specialist equipment and careful preparation keep disruption low.
Can you repair scratches without sanding the whole floor?
Sometimes. Small, local repairs can work if the finish can be matched and the area blends under different lighting. If the floor has uneven wear or multiple scratches, sanding the floors fully usually gives the most consistent result.
Why do scratches reappear after I think I’ve repaired them?
Scratches often reappear when light hits the floor from a different angle, or when a temporary repair product wears off. If the scratch is in the timber, the only lasting fix is levelling it and rebuilding the finish evenly.
How can I prevent scratches after wood floor scratch repair?
Use felt pads on furniture, keep grit out with entrance mats, and vacuum regularly with a soft brush head. Avoid harsh cleaners, and follow aftercare guidance for your specific wood finish to reduce future marks.
Updated January 2026