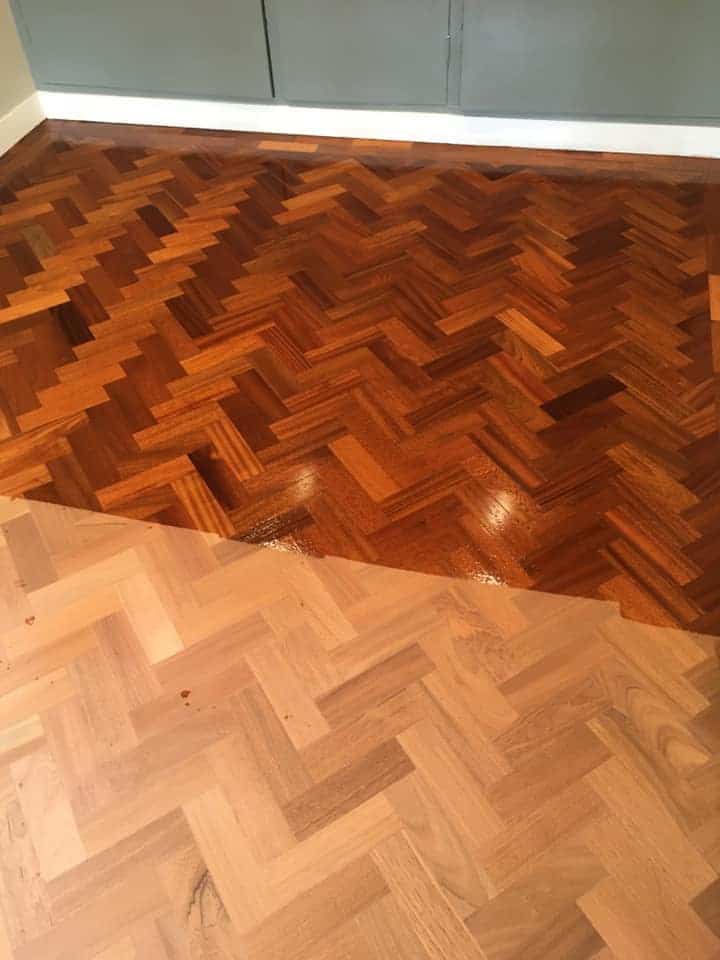
If you are wondering how to restore floorboards or how to restore wooden floors, start with the condition of the room as a whole. Floorboards age unevenly. Busy walkways become dull, old finishes turn yellow, edges collect grime, and the surface of the floor can lose its warmth.
For southern homes with original pine, hardwood floor areas, parquet details or mixed types of wood, the right process matters. The aim is to sand carefully, prepare properly and choose a finish that suits how the room is used.
Quick Summary
Restoring floorboards usually involves checking the timber, preparing the room, sanding the full surface of the floor, working through the correct grades, and applying a suitable protective finish. A full floor restoration gives a more consistent appearance because the colour, sheen and texture are treated evenly. Professional sanding is especially useful for older boards, heavy wear and rooms where the finish needs to look clean, balanced and long lasting.
What Should You Check Before Restoring Floorboards?
Before sanding starts, the floor needs to be assessed properly. This helps avoid over-sanding, choosing the wrong finish, or expecting too much from boards that have already lost a lot of thickness.
Important checks include:
- The type of timber and age of the floorboards
- Whether the floor is solid wood, engineered wood or another wooden floor type
- The depth of old stains, dents and wear and tear
- Raised nails, screws, staples or fixings
- Loose boards, movement or gaps
- Previous coatings such as varnish, oil, wax or paint
Different types of wood behave differently during restoration. Pine is softer and marks more easily, while oak and many hardwood floor surfaces can often tolerate heavier use. The sanding approach should match the timber, not just the appearance of the floor.
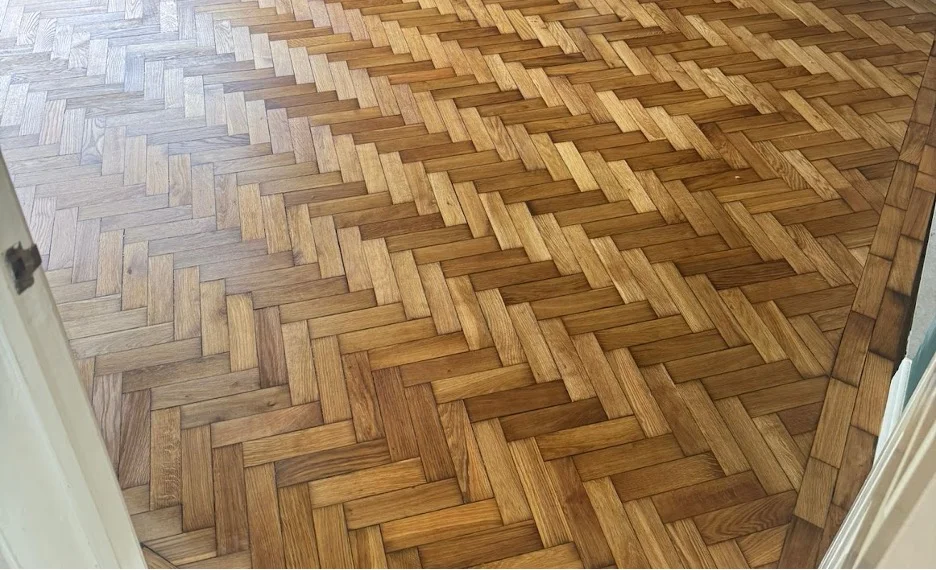
How to Restore Floorboards Step by Step
A proper floor restoration is a controlled process. Rushing it can lead to visible sanding marks, uneven finish absorption or a floor that still looks tired once the coating dries.
- Clear the room fully so the floor can be assessed and sanded evenly.
- Check the boards for movement, fixings and previous coatings.
- Sand the main area using the correct starting grit for the floor condition.
- Use an edge sander carefully around skirting boards and room perimeters.
- Move through medium grades before finishing with a fine grit.
- Vacuum thoroughly to remove sanding dust from the surface and gaps.
- Apply the chosen finish in suitable coats.
- Allow the floor to dry and cure before moving furniture back.
The sanding sequence matters. Starting too aggressively can remove more timber than needed, while moving to fine grit too early can leave old finish in the grain.
Choosing the Right Sanding Grade
The sanding grade depends on the condition of the boards. A heavily coated or uneven floor may need a stronger starting point, while a cleaner floor may only need a gentler sequence.
| Floor Condition | Likely Sanding Approach | Why It Matters |
| Old varnish or thick coating | Start with a coarser grade | Removes the previous finish properly |
| General dullness and light wear | Medium sanding sequence | Freshens the surface without overworking the timber |
| Softer pine boards | Controlled sanding pressure | Helps avoid dips and gouges |
| Hardwood floor surfaces | Grade chosen by condition | Balances efficiency with surface control |
| Final preparation | Fine grit sanding | Creates a smoother base for the finish |
Why Edges and Corners Need Care
Edges are one of the easiest parts of a floor to get wrong. An edge sander is designed to reach close to walls, thresholds and skirting boards, but it needs a steady hand. Too much pressure can create swirl marks, dips or darker-looking areas once the finish is applied.
Getting the Perimeter to Match the Main Floor
The perimeter should look like part of the same restoration. This means the edge work needs to follow the same level of preparation as the main floor.
Why Fine Detail Changes the Final Look
Small sanding differences can become obvious once oil, lacquer or another finish is applied. A well-prepared floor reflects light more evenly and helps the final colour feel natural across the room.
What Finish Should You Use on Restored Floorboards?
The right finish depends on the room and the look you want. Hallways, kitchens and living rooms usually need a durable finish that can handle foot traffic, cleaning and everyday use.
Why Professional Sanding Can Be Worth It
Professional sanding is useful because floor restoration is about judgement as much as machinery. The right approach depends on board thickness, timber type, previous coatings, room layout and the finish being applied.
A professional process can reduce common sanding problems such as uneven lines, edge marks, visible scratches and dust left under the finish.
How to Restore Floorboards for a More Even Result
The best answer to how to restore floorboards is to treat the floor as one complete surface. Proper preparation, careful sanding and the right finish can bring back warmth, colour and texture while keeping the natural charm of the timber.
Sussex Floor Restoration helps homeowners restore wooden floors with careful assessment, professional sanding and finishes chosen to suit the room, the wood and the way the space is used.
If you liked this, you may also like: How to Restore Original Hardwood Floors Without Losing Their Character
Frequently Asked Questions about How to Restore Floorboards Properly and Bring Tired Timber Back to Life
Yes, many old floorboards can be restored if there is enough usable timber left and the boards are reasonably stable. The floor should always be assessed before sanding, especially in older homes where the boards may have already been sanded in the past.
Sanding is often the better option when the existing boards are structurally sound, because it keeps the original character of the floor. Replacement is usually only considered when boards are rotten, badly broken or no longer safe to use.
This depends on the thickness of the boards, the type of wood and how heavily they have been sanded before. Solid floorboards can often be sanded more than once, but older or thinner boards need a much more careful approach.
The best finish depends on how the room is used. Lacquer can be a good choice for busy areas because it provides strong surface protection, while oils can give a more natural look and feel with a different maintenance routine.
Painted floorboards can sometimes be restored back to natural wood, but it depends on the condition of the timber underneath. Old paint can hide stains, filler, previous sanding marks or mixed boards, so the final result may vary.
A typical room can often be sanded and finished over a few days, depending on its size, condition and the finish being used. Drying and curing times are just as important as the sanding itself, especially before furniture is moved back.
Sanding can improve many surface stains, but deep staining may have penetrated too far into the timber to disappear completely. Dark marks from moisture, pets, old adhesives or metal fixings can sometimes remain as part of the floor’s character.
Yes, gaps are common in older wooden floors because timber naturally expands and contracts with changes in temperature and humidity. Some gaps can be filled, but very old floors often still have some movement after restoration.
Traditional sanding can create a lot of dust, but professional sanding equipment is designed to capture most of it during the process. The room still needs preparation, but modern sanding is much cleaner than many people expect.
Use a suitable wood floor cleaner, avoid soaking the floor, and clean up spills quickly. Felt pads under furniture and good entrance mats can also help reduce scratches, grit and everyday wear.